
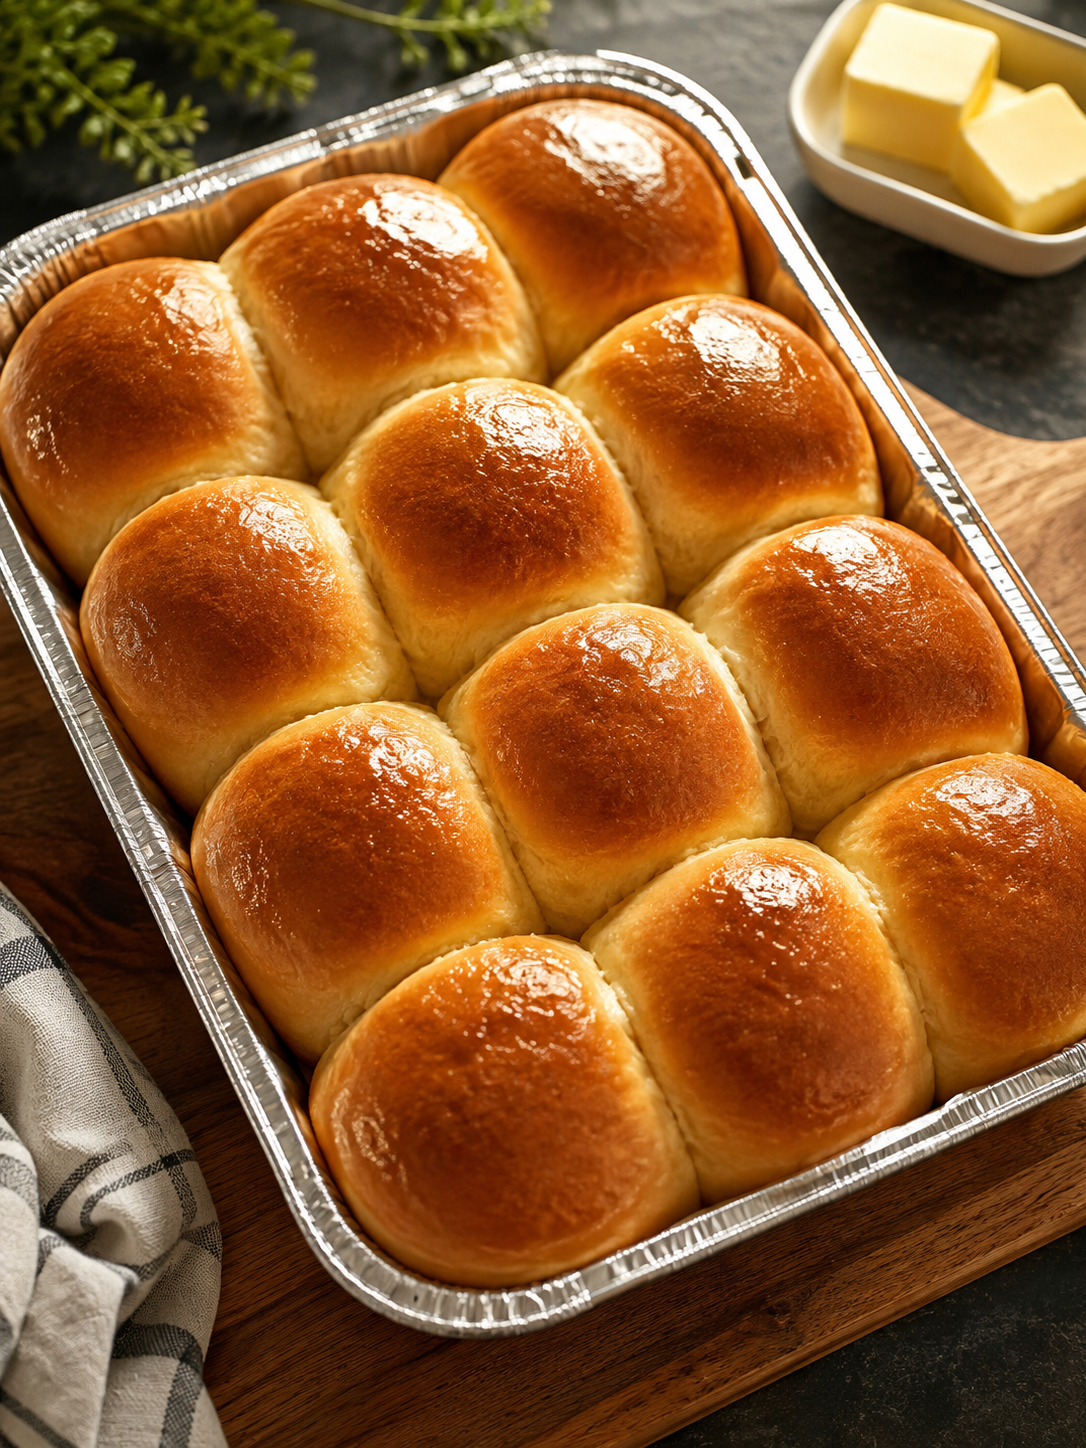
The Softest Fresh-Milled Hard Red Wheat Dinner Rolls (Stand Mixer + By Hand)
Stand Mixer + By-Hand Method
If you’ve been looking for a soft, fluffy dinner roll made with 100% fresh-milled hard red wheat, this is the non-bread-machine version of my favorite recipe.
I originally made these using my bread machine to do all the mixing and kneading for me, but you absolutely don’t need one. A stand mixer makes these really easy, and you can even make them completely by hand if you don’t mind a little kneading.
And yes—these really are made with 100% hard red wheat. No white flour hiding in there.
The secret is giving freshly milled flour time to hydrate before adding the salt and yeast. That little resting period makes a huge difference in the finished texture.
Prefer to let the bread machine do the work?
[Get my Bread Machine Fresh-Milled Hard Red Wheat Dinner Rolls recipe here.]
Ingredients
Makes 12–16 rolls
- 450 g fresh-milled hard red wheat flour
- 301 g water
- Use 286 g if adding the egg
- 38 g oil
- 50–55 g honey
- 1 egg, optional but recommended
- 9 g salt
- 9 g instant yeast
- 9 g sunflower lecithin
- 16.5 g vital wheat gluten
- 8–10 g dry milk powder, optional
Stand Mixer Instructions
1. Mix the dough — but hold the salt and yeast
Add the water, oil, honey, egg (if using), sunflower lecithin, dry milk powder (if using), fresh-milled flour, and vital wheat gluten to your mixer bowl.
Do not add the salt or yeast yet.
Using the dough hook, mix on low just until everything is combined and no dry flour remains. You’re not trying to knead it yet—just bring everything together.
2. Let the flour rest
Cover the bowl and let the dough rest for 30–60 minutes.
This is the autolyse period, and I wouldn’t skip it when working with fresh-milled hard red wheat. It gives that freshly milled flour time to absorb the liquid before we start developing the dough.
3. Add the salt and yeast
Sprinkle 9 g salt and 9 g instant yeast over the dough.
Return the bowl to the mixer and knead with the dough hook until the dough becomes smooth, elastic, and well developed.
Fresh-milled dough may remain a little tackier than a dough made with refined white flour, so resist the temptation to keep dumping flour into it. You don’t want to turn those soft rolls into little wheat bricks. 😂
4. First rise
Cover the bowl and let the dough rise in a warm place until it has noticeably increased in volume and looks light and puffy.
Depending on the temperature of your kitchen, expect roughly 60–90 minutes, but watch the dough rather than the clock.
Making Them By Hand
No stand mixer? You can still make them.
Follow the same process through the autolyse. After the 30–60 minute rest, add the salt and yeast and knead the dough by hand on a lightly oiled or very lightly floured surface.
Knead until the dough becomes smoother, stretchy, and elastic.
Then place it in a lightly greased bowl, cover it, and allow it to rise as directed above.
Shape the Rolls
Once the first rise is finished, divide the dough into 12–16 equal pieces.
If you want really uniform rolls, this is a great time to pull out your kitchen scale and weigh the dough before dividing it.
Shape each piece into a smooth, tight ball and arrange the rolls in a greased 9×13-inch pan or round baking pans.
Final Rise
Cover and let the shaped rolls rise for another 30–60 minutes, or until they’re beautifully puffy and beginning to touch one another. That’s what gives you those soft pull-apart sides.
Bake
Bake at:
375°F for 15–18 minutes
OR
350°F for 18–20 minutes
They’re done when the center reaches approximately 200°F.
Brush the tops with melted butter as soon as they come out of the oven and let them cool for about 10–15 minutes before serving.
Those baking temperatures, doneness temperature, shaping, and final-rise guidelines are the same ones you’re using in the original bread-machine recipe.
Make Extra — These Freeze Really Well
This is one of those recipes where making extra is absolutely worth it.
Once the rolls have completely cooled, put them in a freezer-safe bag or airtight container and freeze them. For best quality, I’d use them within about 3 months.
Then when you want one—or three 😂—you don’t have to thaw the whole batch.
Pull out however many you want and warm them in the air fryer at about 300°F for 3–5 minutes. If they’re still frozen solid, they may need another minute or two. Keep an eye on them because air fryers vary and you just want them warmed through without making the outside too crisp.
A tiny swipe of butter afterward doesn’t hurt either.
Bread Machine Version
Want this same recipe with even less hands-on work?
I also have a Bread Machine Fresh-Milled Hard Red Wheat Dinner Roll version where the machine handles the mixing, kneading, and first rise.
[Get the Bread Machine Version Here]
📬 Want something fun in your mailbox?
Sorted & Sent is my $11/month snail-mail subscription from Living Life Sorted — a rotating mix of notes, recipes, practical ideas, paper goodies, and little surprises. Postage included.
One Comment